
If you’ve recently acquired an RCA Roku projector and it’s not working, don’t worry! You’re not alone. This is a common problem with these projectors, and there are a few things you can do to fix it. This article will answer some of the most common questions people have about repairing RCA Roku projectors, as well as offer some tips that may help you get your projector up and running again.
RCA Projector Not Working Issue Reasons
Bulb Failure
One of the most common causes of projector failure is a faulty bulb. The bulbs in projectors are very fragile and can easily be damaged or worn out over time, leading to a loss of projection quality or no image at all.
Dust & Dirt on Lenses
Dirt and dust particles that accumulate on the projector lenses can cause serious issues with airflow, which will prevent light from passing through correctly. This can lead to poor picture quality or a blank screen altogether.
Faulty Connections
The connections between components such as the video cable, power cord, and HDMI port may become loose or broken if used too frequently, resulting in an inability for the projector to receive power. If the power cord is frayed or damaged, it will also prevent the projector from functioning correctly.
Incorrect Settings
Oftentimes, projectors are set to the wrong resolution or projection mode, which can lead to a blank screen or other issues with picture quality. It’s important to make sure that the correct settings are selected for the projector to display an image properly.
Faulty Components
If any of the internal components fail or become damaged, such as the cooling fan, circuit board, or color wheel, then it can lead to a complete loss of function. In these cases, it is necessary to replace any defective parts before using the projector again.
Power Issue
If the projector is not receiving enough power, or if it is connected to an unreliable power source, then this can lead to a failure of the projector. To avoid this issue, make sure that the projector is plugged into a reliable power source and has adequate voltage.
Software Issues
Sometimes the projector’s software may become corrupted or out-of-date, leading to issues with display quality or no image at all. It’s important to keep the software up-to-date and running smoothly to ensure the proper functionality of the device.
Overheated Projector
Projectors generate a lot of heat and can quickly become overheated if the cooling fan is not working properly. This can cause the projector to shut down or display poor picture quality, so it’s important to make sure that the cooling fan is in good condition.
Failed Bulb Replacement
If a bulb needs replacing, it’s important to use the correct type of bulb for your specific projector model. Using an incorrect one can lead to serious damage or even complete failure of the device if it isn’t compatible with its other components.
Physical Damage
Physical damage to any part of the projector can prevent it from functioning correctly. To prevent this, make sure that the projector is kept in a safe place and handled with care. In some cases, physical damage can be repaired through professional services or parts replacement.
Worn Out Parts
Even if all of the above issues have been addressed, there are still other potential causes for projector failure, such as worn-out parts due to frequent use or lack of maintenance. It’s important to follow your projector’s maintenance guidelines to ensure that its components stay in good condition and continue working properly [1].
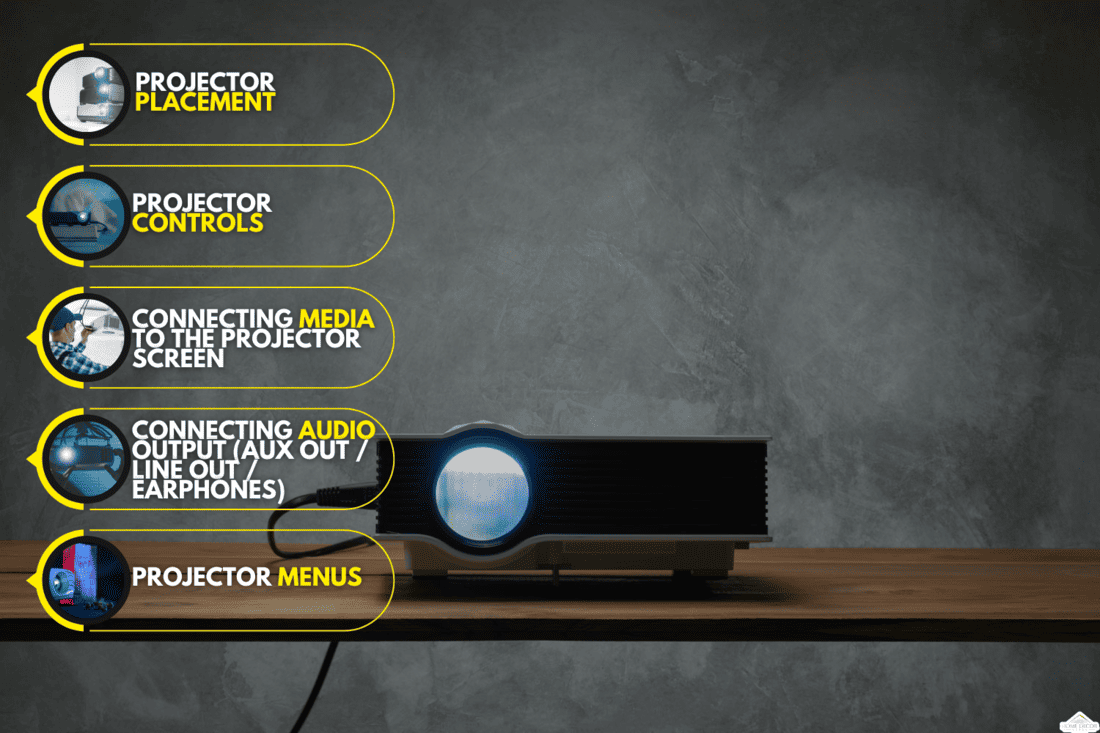
Troubleshooting Steps to Make the RCA Projector Working
Power and cable problems
- Make sure the power cord is securely plugged into the wall outlet and projector.
- Check to see if the power switch on the projector is turned on (it may be hidden behind a panel).
- Try using a different wall outlet or surge protector.
- If you are connecting to an external device, ensure that all cables between the device and projector are connected properly and securely. Check for any frayed or damaged cables as this could cause issues with your display quality or connection issues.
- Ensure that any audio/video switchers, receivers, or splitters are set up correctly before connecting them to the projector, and make sure that all other components such as speakers and sound systems are powered on and connected.
Image Problems
- Make sure that the image brightness is turned up – this can be adjusted using the projector’s menu or remote control.
- Check to make sure the aspect ratio of your content matches that of your projector’s native resolution (e.g., 1080p content should be watched at a 16:9 aspect ratio).
- If you’re having trouble with colors, try changing different color settings in the projector’s menu or resetting to factory defaults if necessary.
- Try plugging in a different input source such as a laptop to see if there is an issue with your original device or cable connection.
- If all else fails, try replacing the projector’s lamp.
Noise Problems
- Try cleaning the fan filters and cooling vents of your projector to make sure they are not blocked or clogged with dust.
- Check to make sure that all electrical connections are secure and no loose screws or other components are rattling around inside the projector housing.
- If you have a ceiling-mounted projector, make sure the mounting bracket is securely fastened to the ceiling surface and that there isn’t any excess play in the mount arms or joints.
- If you find that adjusting these things does not fix the noise issue, contact a qualified technician for further assistance as it may be an internal hardware issue requiring repair or replacement.
Unstable Connection Problems
- Check to make sure that the cables between your external device and projector are firmly connected at both ends.
- Try using a different cable type – HDMI cables can often produce more stable connections than other types of AV cables, for example.
- Make sure the resolution settings of your external device and projector match up; if one is set to 1080p while the other is set to 720p, this could cause instability in the connection.
- Move any wireless devices such as routers or Bluetooth speakers away from your projector as these could be interfering with its signal reception.
- If none of these steps work, try swapping out the cable or device you’re using for another one – this could be the faulty component causing the instability.
- If all else fails, contact a qualified technician for further assistance as it may be an internal hardware issue requiring repair or replacement.
Source Settings
- Check the projector’s input source – make sure it is set to the correct one for your device or the content you are trying to view.
- Make sure that all of your external devices and cables are fully compatible with the projector’s input source settings.
- If you are having trouble with the audio, make sure the sound settings on both the projector and external device are properly configured and optimized for the best results.
- If none of these steps work, try swapping out the cable or device you’re using for another one – this could be the faulty component causing the issue.
- If all else fails, contact a qualified technician for further assistance as it may be an internal hardware issue requiring repair or replacement.
- Also, make sure the projector is updated to the latest firmware version to get access to all of its features and settings.
- Lastly, use the projector’s menu system to adjust any image settings such as brightness, contrast, and color temperature if necessary [2].
How to Fix If a Projector not connecting to Laptop – Wired Connection
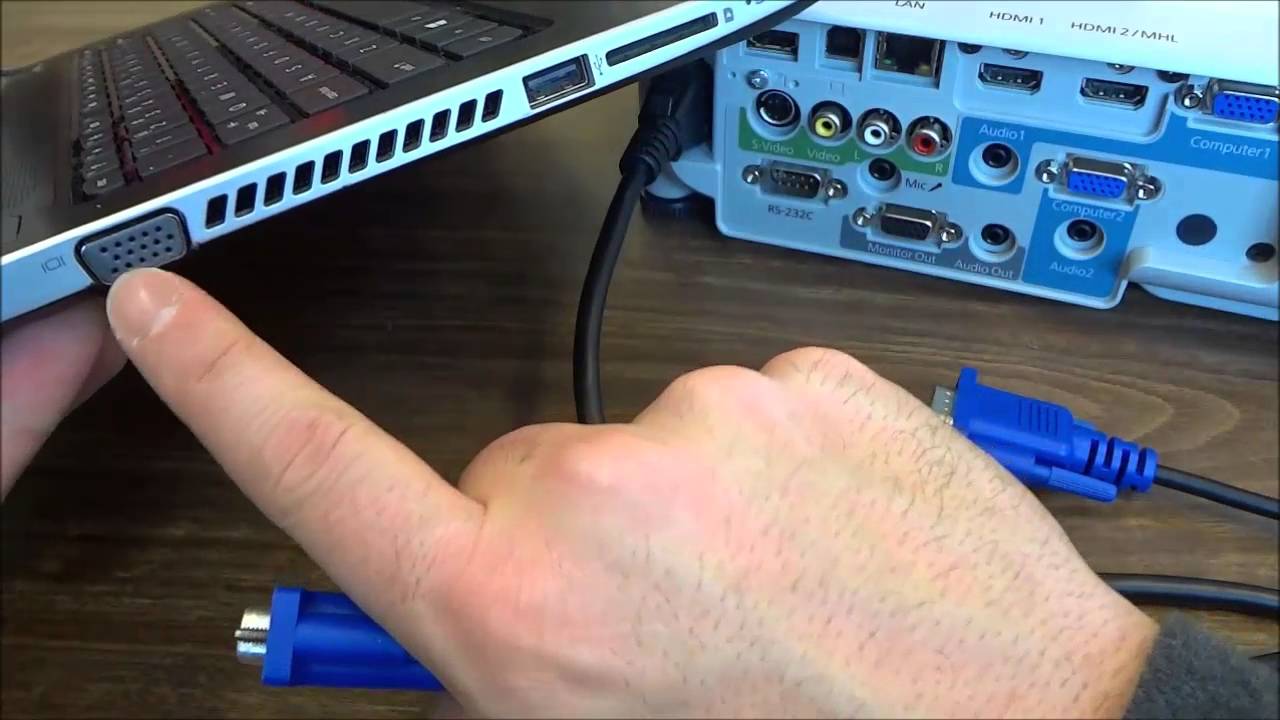
- Check your cables: Make sure that all cables are firmly connected to both the projector and laptop. If you’re using a VGA cable, check that it is securely plugged into the VGA port of both devices.
- Check your display settings: On Windows 10, go to Settings > System > Display and make sure the correct monitor is selected as the primary display device.
- Set up duplicate displays: Press Win + P keys on your keyboard to open display settings and select “Duplicate” option to use the same image on the projector and laptop screen or “Extend” to use separate images on each screen.
- Update/install drivers: Go to the manufacturer’s website of your projector and laptop and check if there are any updates available for your graphics card driver. Download and install the latest version and restart your laptop.
- Use a different cable: If you’re using an HDMI, DVI, or DisplayPort cable, try another cable as some versions are not compatible with all devices.
- Reset the connection: Disconnect the projector from power then reconnect it after a few minutes. This may reset the connection between both devices, allowing you to project again.
- Check if audio is working: If you have external speakers connected to your laptop and they don’t work when projecting, try adjusting settings in Sound Manager or video card settings.
FAQ
How do I reset my RCA Roku projector?
If you need to reset your RCA Roku projector, there are two ways to do so. The first option is to press and hold the Reset button on the projector for 10 seconds. This will reset all settings back to their factory defaults. The second option is to go into the Settings menu on the projector and select “Reset”. Follow the on-screen instructions to confirm that you want to reset it.
Once complete, the projector will be restored to its original factory settings. It’s important to note that this will erase any customized settings or preferences you may have created, so make sure you write down any changes before proceeding with a reset.
You should also perform a full power cycle by unplugging your RCA Roku projector from the power source and then plugging it back in. This will ensure that all of the internal components are reset and functioning properly. After completing a full power cycle, your RCA Roku projector should be ready to use again.
Why is my RCA projector remote not working?
In most cases, the reason why your RCA projector remote isn’t working is that it needs to be paired with the projector. To do this, press and hold the pairing button on both the projector and remote for a few seconds until you see a confirmation message that they have been successfully paired. If you are still having issues after attempting to pair them, make sure no obstructions are blocking the infrared signal between the remote and projector.
Additionally, try replacing the batteries in your remote if they appear to be low or dead. After replacing them, give the pairing process another attempt. If all else fails, contact RCA customer support for further assistance.
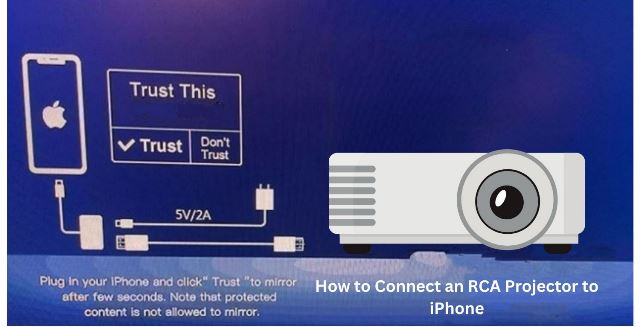
Can I connect my laptop to an RCA Roku Projector?
Yes, you can connect your laptop to an RCA Roku projector. To do so, you will need to have a compatible HDMI connection between the two devices. Once connected via HDMI, your laptop should recognize the RCA projector and allow you to mirror your screen or extend it. You may need to configure the settings on both devices for them to communicate properly.
Refer to your user manual or contact customer support if you need help with this process. Additionally, make sure that your laptop is running the latest version of its operating system as some older versions may not be compatible with certain projectors.
Why has my Roku stopped working?
If your Roku has stopped working, there are a few things you can do to troubleshoot the issue. First, check that the device is powered on and fully connected to both the power source and your television or monitor. If everything appears to be in order, try restarting the device by unplugging it from the power source for at least 30 seconds before plugging it back in. You may also want to perform a factory reset of your Roku if your settings have become corrupted.
To do this, press and hold the Reset button on the back of your device for 10 seconds until you see a confirmation message. Once complete, all settings will be restored to their original factory defaults.
Useful Video: RCA rpj136 projector not working
Conclusion Paragraph
In conclusion, if your RCA Roku projector is not working properly, several potential causes could be responsible. It may be an issue with the power supply, improper connection of cables, or a faulty HDMI port. However, it’s important to make sure all cables and connectors are correctly connected before attempting any troubleshooting steps.
If the problem persists after checking all connections, then contact technical support for further assistance in diagnosing and resolving the issue. With some investigation and patience, you should be able to get your RCA Roku projector back up and running in no time!
References
- https://www.techwalla.com/articles/my-rca-home-theater-will-not-turn-on
- https://www.projectorera.com/rca-projector-not-working/