
There is no doubt that technology has come a long way, and with it, the options for home entertainment have exploded. These days, you can choose between wall screens and projector screens to display your favorite movies, TV shows, and games. Both have their pros and cons, so how do you decide which is right for you? This article will explore the differences between wall screens and projector screens and help you make an informed decision about which one is best for your needs.
Projector screen vs. wall
Texture
When it comes to texture, a projector screen is typically made from a smooth and even material like vinyl or fabric. On the other hand, walls usually have a textured surface that is either painted on or composed of brick or plaster. This can cause the projected image to have slight unevenness in brightness levels due to the texture of the wall.
Color Accuracy
Projector screens are designed specifically for projecting images, so they provide greater accuracy in terms of color saturation, as well as contrast, and brightness. Walls generally don’t offer this same consistent level of quality when it comes to producing an accurate image.
Reflection
Projector screens are designed to have minimal reflection, which is important for creating a sharp and clear image. In contrast, walls can reflect light much more easily due to their textured surface and various materials like wallpaper or paint that may be covering them. This can cause the projected image to become washed out or distorted in some areas.
Durability
Projector screens are much more durable than walls since they can withstand being moved around multiple times without having any issues with tearing or damage. On the other hand, walls are typically not as resilient when it comes to wear and tear over time, especially if they’re not properly maintained. They may start to look worn out and appear faded after only a short period of use.
Light and color control
Projector screens can offer much better light and color control than walls. This is due to their smooth surfaces which allow you to adjust the amount of light that reaches the screen easily, as well as the evenness of the surface which allows for more consistent saturation levels across the entire image. Walls, on the other hand, have too much texture and uneven surfaces for this kind of accurate adjustment.
Cost
In terms of cost, projector screens are usually more expensive than walls since they require an initial investment to purchase one. However, once you factor in all of the advantages that a projector screen provides such as better image clarity and improved durability over time, it may be worth considering investing in one. On average, walls are usually cheaper than projector screens, but the cost savings may not be worth it in the long run due to their lack of quality and durability.
Frame
Projector screens often come with a frame that can enhance the look and feel of your setup while providing extra protection against dust. Walls don’t typically come with an additional frame, so you may need to invest in one separately if you want that extra level of protection [1].
Pros and cons of using a projector screen
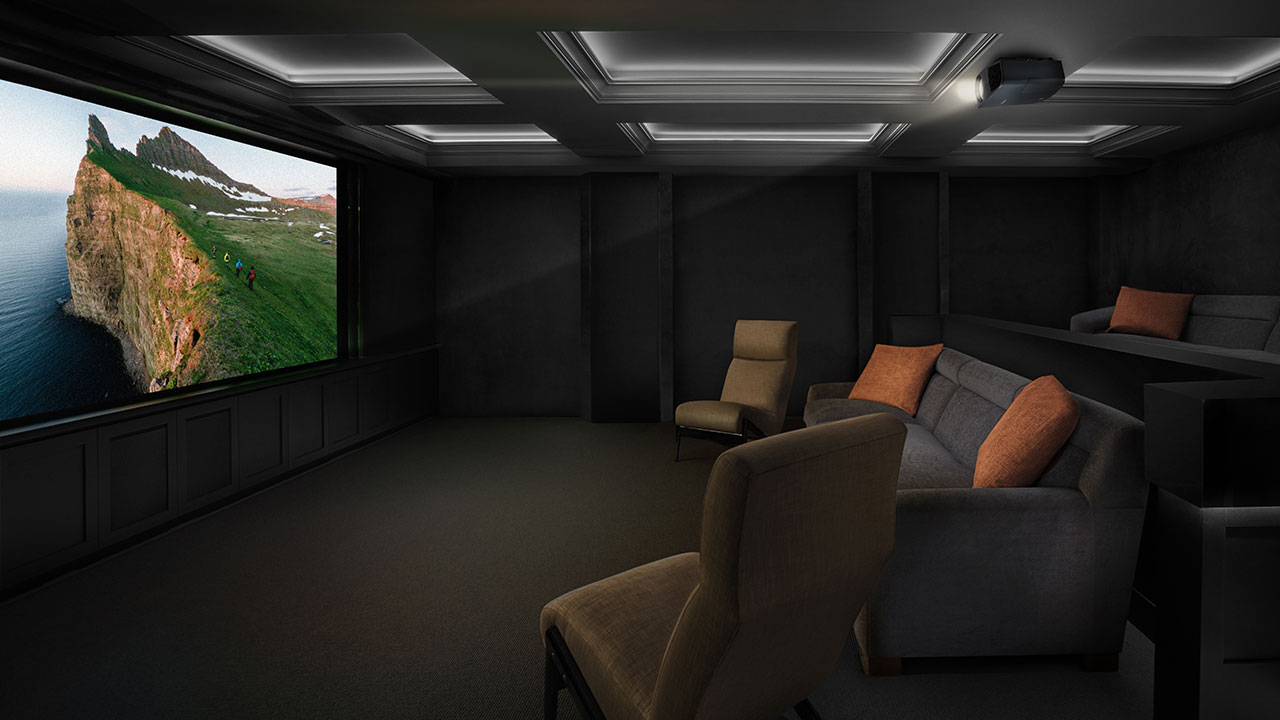
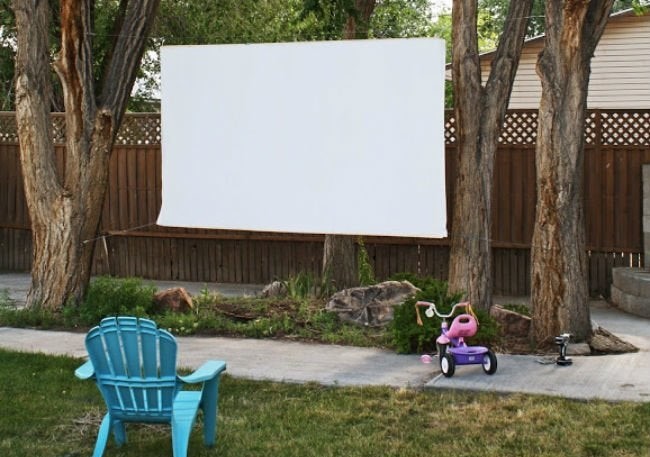
One of the biggest benefits of using a projector screen is that it can create a larger and more immersive viewing experience. A big-screen television might look nice, but with a projector and large screen, you will be able to enjoy movies and shows as if you were in a movie theater.
Additionally, having a projection system allows for more flexibility with seating arrangements since the entire room doesn’t need to face the same direction as it would with a traditional television setup.
On the other hand, there are some drawbacks associated with projector screens. For one thing, they can be expensive compared to other options such as flat-panel TVs or monitors.
Additionally, they require careful setup and calibration to get the best picture, and ambient light in the room can be a factor as well. Finally, they take up more space than other display options, making them difficult to accommodate in some rooms.
Overall, using a projector screen is an excellent way to get an immersive viewing experience, but users should consider the associated costs and setup requirements before investing in one [2].
Why shouldn’t you use a projector without a screen?
The color of the wall and its reflective properties are not ideal for projecting an image.
The wall will absorb some of the light and reflect the rest back, forming a blurry and dim image. Additionally, any shadows or objects on the wall will be magnified by the projector and appear as part of the projected images. This can cause distraction and make it difficult to concentrate on the content being projected. A screen also offers better color accuracy while supporting wider viewing angles so that more people in an audience can see the same image at once.
Finally, a screen helps diffuse ambient light and reduce glare which can wash out projected images or even damage your projector’s bulb over time. Without a screen, it is much harder to get a large, clear picture with vibrant colors.
The Texture of the Wall Matters
The texture of the wall matters when projecting without a screen.Smooth walls such as those present in office buildings work best because they provide a flat surface that reflects light evenly and minimally absorbs the light from your projector’s bulb. Rough surfaces, on the other hand, absorb more light and create uneven illumination across the viewable area. The result is an image with poor contrast and muted colors, making it difficult to distinguish detail or read the content [3].
How to Make Your Own Projector Screen?
Step 1: Gather All Materials
Gather all of the materials you will need to make your own projector screen. You’ll need a frame, such as a basic wooden or metal frame, and stretched canvas material to cover the frame. A staple gun with staples is needed for attaching the canvas to the frame. Make sure that you have enough canvas to completely cover your frame, plus at least an extra foot on each side for wrapping around and stapling in place.
Step 2: Prepare the Wall
Make sure the wall you will be mounting your projector screen on is clean, level, and square. This will help ensure that your frame hangs straight and true. Additionally, you should use a stud finder to locate any studs in the wall that you can mount your projector screen on.
Step 3: Map Out the Screen Area
Using a measuring tape and pencil, map out the area where you will be placing your projector screen. Make sure that the measurements are square and accurate. Do not make any marks on the wall outside of this mapped-out area.
Step 4: Paint the Wall
Once you have mapped out the screen area on the wall, you can begin painting. If you do not plan to paint your entire wall, make sure to choose a color that will not reflect light onto the projector screen. Flat white is usually best for this application.
Step 5: Paint the Screen Frame
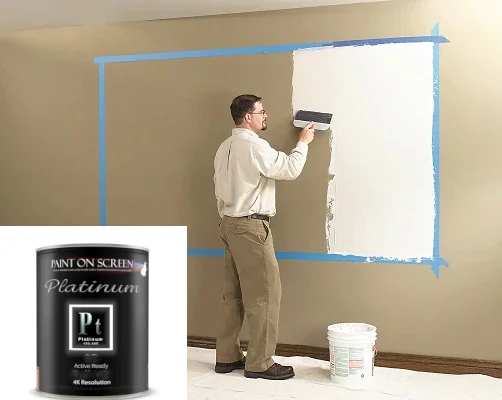
Once the wall is painted and dried, you can begin painting your projector screen frame. Again, flat white is best for this application. Make sure to cover all of the frames with at least two coats of paint.
Step 6: Assemble Your Frame and Attach it to the Wall
Once your wall is painted and dried, assemble your frame according to the manufacturer’s instructions. Once assembled, attach it to the wall using the appropriate screws or anchors depending on whether you are attaching it directly into a stud or just drywall/plaster.
Step 7: Cut and Staple Your Canvas Material
Cut your canvas material slightly larger than your frame so that you can wrap the fabric around it and staple it in place. Start at one corner of the frame and work your way to the other using your staple gun. Make sure that you pull the canvas tight as you go and frequently check your work with a tape measure or ruler to make sure that all sides are equal and even.
Step 8: Attach Your Screen to the Wall
Once your projector screen is constructed, attach it securely to the wall with appropriate screws or anchors.
Projection Types
Front Projection
Front projection is the most common type of projection used in classrooms, auditoriums, and conference rooms. This type of projection involves projecting an image from a projector onto a screen that is placed in front of the audience. The projector is typically mounted on either a ceiling or wall mount and can be adjusted to project images of varying sizes. Front projection systems offer a high-quality image and can be used in any size room.
Rear Projection
Rear projection is a type of projection that involves projecting an image from the rear of the room onto a screen in front of the audience. This type of projection is best suited for large rooms with long throw distances, as it requires more space between the projector and screen than front projection. However, rear projection offers a brighter and more vibrant image, making it an ideal choice for larger venues.
Interactive Projection
Interactive projection is a type of projection that uses interactive technology to turn any smooth surface into an interactive touch screen. This type of projection can be used in classrooms, offices, and other public venues to facilitate collaboration and engagement. Interactive projection systems typically use infrared sensors or cameras to detect people’s movements and react accordingly.
3D Projection
3D projection is a type of projection that utilizes special projectors to produce an immersive 3D experience for viewers. This type of projection is often used in movie theaters, museums, and other venues to give viewers an enhanced visual experience. 3D projection systems typically use dual projectors that work together to create a 3D effect.
Additionally, some 3D projectors can even be used with specialized glasses for an even more immersive viewing experience.
Short Distance Projection
Short-distance projection is a type of projection that uses shorter throw distances than the typical front or rear projection systems. This type of projection can be used in smaller spaces and offers the same quality image as larger systems, but at a much lower cost. Short-distance projectors are ideal for classrooms, small offices, and other venues where space is limited.
Five Steps to Selecting the Right Projector Screen
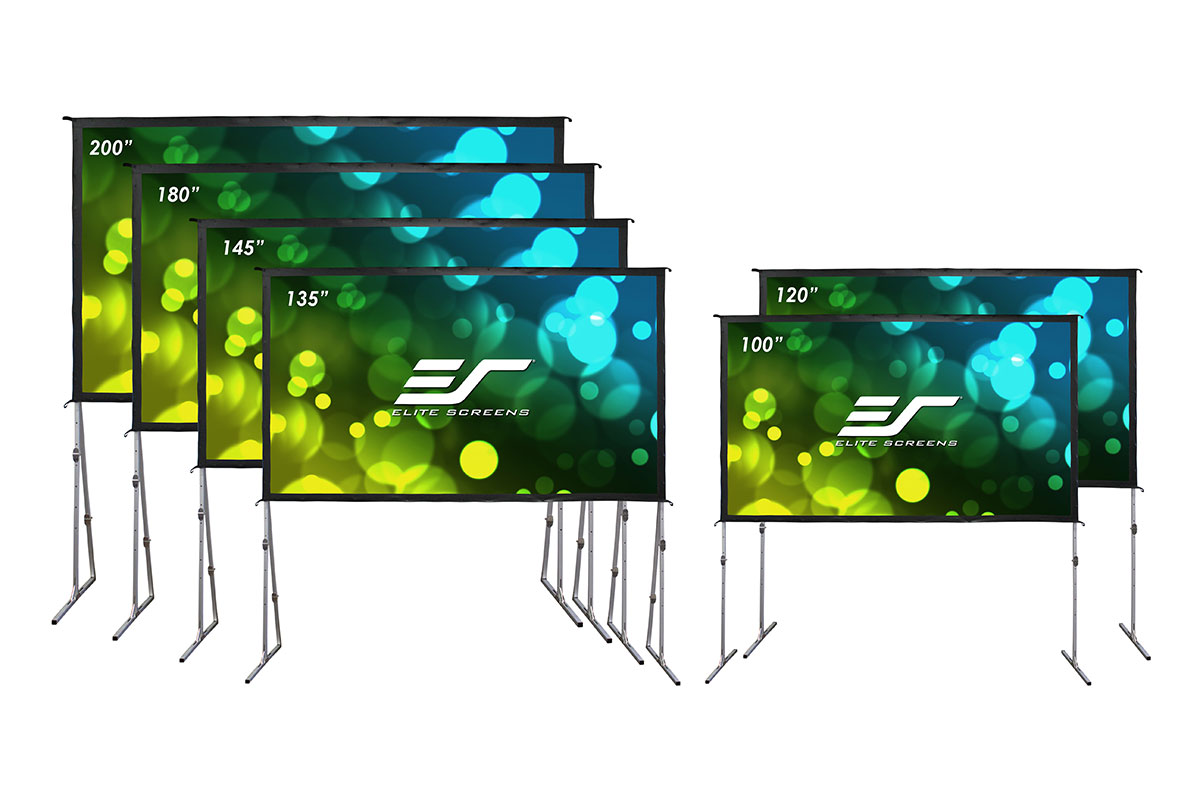
Determine Screen Size
The first step when selecting a projector screen is to determine the size of the screen that you need. It is important to consider not only the size of your room and wall space but also how far away viewers will be from it. To ensure a clear and visible picture, most manufacturers recommend an image size ratio of 1:1 or 4:3 and an image height of 40-60 inches.
Choose the Screen Type
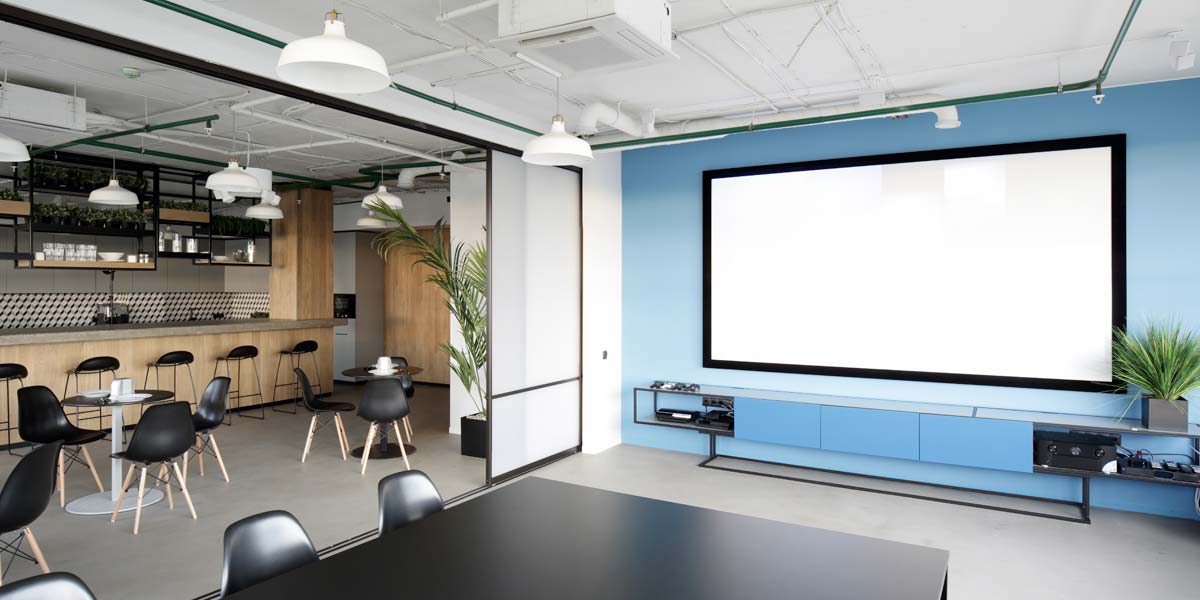
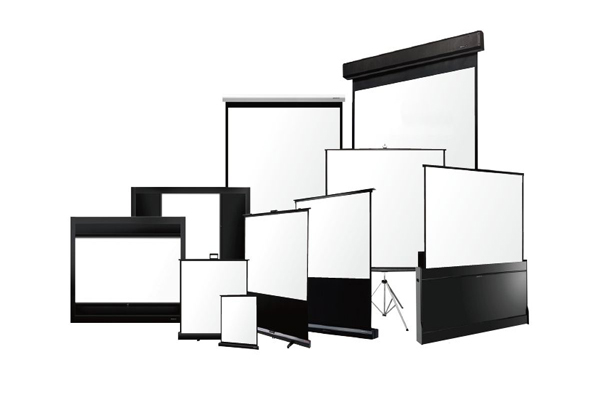
The second step is to choose the type of screen that best suits your needs. There are several types available, including manual, electric, rear projection, fixed-frame, and portable screens. Manual screens are the most common type used for home theater systems and require the user to roll or slide the screen in front of the projector. Electric screens are motorized and can be easily retracted after use. Rear projection screens provide a bright, clear picture for viewers but may require professional installation. Fixed-frame screens are designed for permanent installations, while portable screens can be moved from location to location.
Decide on the Screen Material
The third step is to select a screen material that will provide the best image quality. A white matte surface will provide a bright, vivid picture but may cause some pixel distortion. Gray and black screens help reduce glare and minimize pixel distortion for darker rooms, while silver surfaces can enhance color saturation and contrast. Depending on your viewing environment, you may want to consider a special-purpose material such as optical glass or aluminum mesh.
Select a Screen Mounting Method
It is time to decide on the best way to mount your projector screen. There are several mounting options available, including ceiling mounts, wall mounts, and tripod stands. Ceiling mounts provide an unobstructed view but may require professional installation. Wall mounts can be easily installed with basic tools and are great for permanent installations, while tripod stands provide a convenient and versatile solution for portable setups. Choosing the right mounting option depends on your specific setup and viewing environment.
Select Aspect Ratio
The fifth and final step is to decide on the aspect ratio for your projector screen. Most displays are either 16:9 or 4:3, although other ratios such as 21:9 may be available depending on the manufacturer. The aspect ratio should match the native resolution of your projector to ensure a high-quality viewing experience. Taking into consideration the size of your room and viewing distance, you can now select the right projector screen for your needs.

FAQ
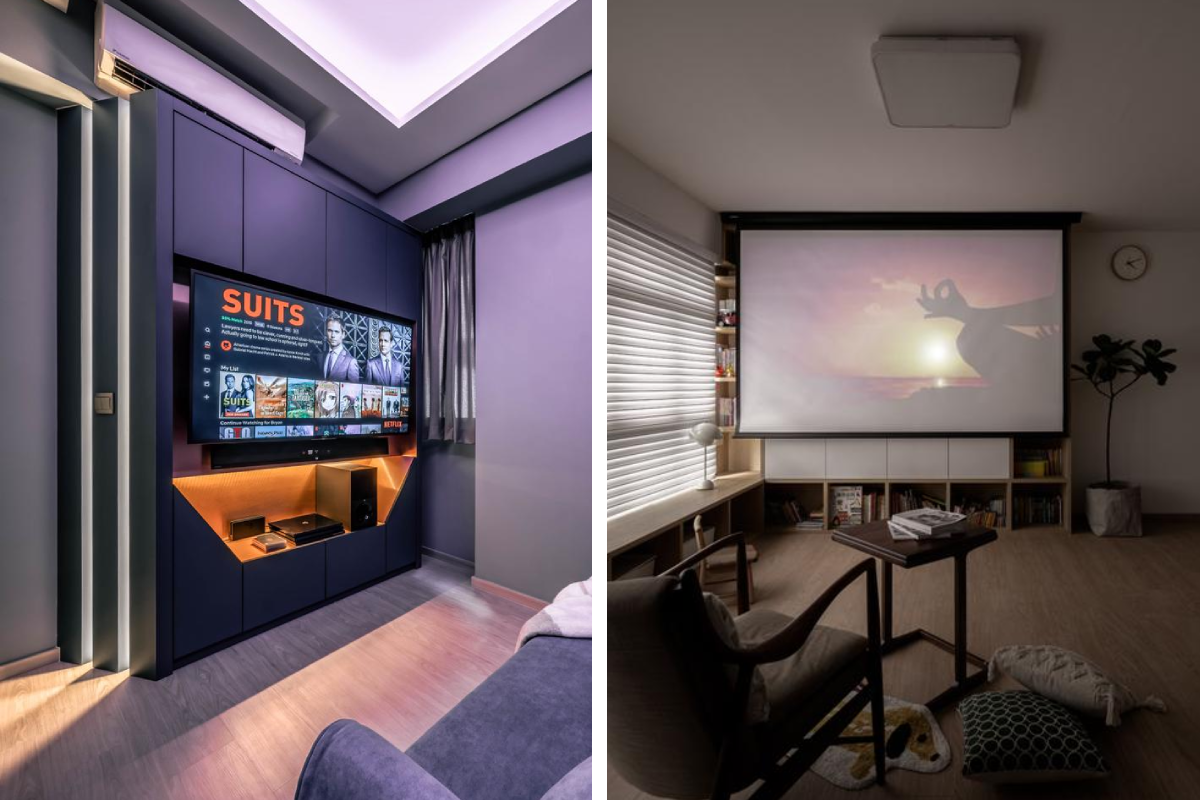
Is a projector screen better than a wall?
A projector screen is generally better than a wall for displaying images or video. Projector screens are specifically designed for projecting images and videos, whereas walls may not be optimized for this purpose. In addition, projector screens typically provide a smoother surface that can reduce the amount of distortion in projected images and videos.
Finally, many projector screens are also designed to help improve image/video brightness by reflecting more of the light from the projector toward the viewer. Therefore, using a projector screen can help to improve the overall viewing experience when compared to using a wall.
What types of projection screen materials are available?
Projection screen material comes in many varieties including PVC vinyl fabric, woven polyester fabric, matte white fiberglass cloth, and acrylic polymer-based screens. PVC vinyl and polyester fabric screens are flexible and inexpensive but can wrinkle or stretch over time and may not provide the best image quality.
PVC vinyl and polyester fabric screens are flexible and inexpensive but can wrinkle or stretch over time and may not provide the best image quality. Matte white fiberglass cloth and acrylic polymer screens typically provide better image quality with less distortion but tend to be more expensive.
Acrylic polymer screens can provide very high contrast and wide viewing angles. The specific material you choose will depend on your needs, usage, and budget.
Is a projector screen better?
In summary, a projector screen is generally better than using a bare wall for displaying projected images and video. Projector screens are designed specifically for projecting and can provide a smoother surface, improved image brightness, and better image quality overall compared to a wall. The type of screen material you choose will depend on your needs, usage, and budget, with options ranging from inexpensive fabric screens to higher-end acrylic polymer screens that provide the best image quality.
Is 4K better than an HD projector screen?
4K projectors and projector screens can provide higher resolution and often better image quality than HD projectors and screens. 4K projectors provide four times the number of pixels as HD projectors, resulting in sharper and more detailed images when projecting onto a 4K-compatible projector screen.
However, 4K projectors and screens are typically more expensive, require more powerful hardware to run, and provide benefits that may not be noticeable unless projecting a very large image or viewing from close distances. For most home theater and casual use, an HD projector and screen may be sufficient and more budget-friendly.
What type of projector screen is best?
The best type of projector screen for you will depend on your needs, usage, and budget. Some factors to consider include:
- Image quality: Acrylic polymer screens typically provide the best image quality with high contrast and wide viewing angles but tend to be more expensive. Matte white screens can also provide good image quality at a lower price. Fabric screens are more affordable but can wrinkle or stretch and may not provide the best image quality.
- Viewing environment: If you need a screen that rejects ambient light well, an acrylic polymer or matte white screen would likely be better than a fabric screen. Acrylic polymer screens can provide very high gain to help boost brightness in well-lit rooms.
- Usage: For casual home use, an inexpensive fabric or matte white screen may be sufficient. For dedicated home theaters or professional use, an acrylic polymer screen would likely provide the best performance and image quality.
- Budget: Fabric screens are typically the most affordable, while acrylic polymer screens are the most expensive. A matte white screen can provide good performance at a lower price than acrylic polymer.
Is white or grey better for a projector screen?
For most projector screens, a neutral white or light grey color is typically recommended over darker grey or black screens. Lighter-colored screens help reflect more of the projected image toward the viewer, resulting in a brighter image with more vibrant colors. Darker screens can absorb more of the projected light, resulting in a dimmer image.
However, darker screens may be preferable if you need to minimize ambient light reflection for a screen in a bright room. The specific color you choose will depend on the lighting conditions and your preferences for image brightness and color reproduction. In either case, a neutral color is best to avoid distorting the colors in the projected image.
Can you use a white wall instead of a projector screen?
A white wall can work as an inexpensive alternative to a dedicated projector screen, but it typically will not provide the same image quality. Projector screens are designed specifically for projecting and usually provide a smoother surface, wider viewing angles, and better contrast and color reproduction than a typical wall.
The specific benefits of a projector screen will depend on the screen material, but in general, a projector screen will provide a better experience for watching the video and viewing images than a bare wall. If the high image quality is a priority and your budget allows, a purpose-built projector screen is recommended over using a wall.
What color wall is best for a projector?
For projecting onto a wall, a neutral mid-grey to light-grey color tends to work best. These lighter, neutral colors help ensure the projected image is bright and has accurate color reproduction. White walls can cause the image to appear washed out, while darker grey or black walls may absorb too much of the projected light, resulting in a dimmer image with less vibrant colors.
Painting your walls in a neutral, light color is an inexpensive solution if you want to use a wall for projection instead of purchasing a dedicated projector screen. However, keep in mind that even with the optimal wall color and a high-quality projector, image quality is likely to be better with a purpose-built projector screen versus a bare wall.
Should I use a screen or white wall for the projector?
A screen is typically recommended over projecting onto a white wall for several reasons:
- Projector screens are designed specifically for projection and provide an optimized surface for projecting an image. They offer wider viewing angles, better contrast, more accurate color reproduction, and less ambient light reflection than a bare wall.
- Projector screens are available in a range of sizes to suit your needs, while you are limited to the size of your wall space. Projector screens can also be portable or retractable for convenient storage when not in use.
- Projector screens are available at a range of price points, and an inexpensive basic screen can provide significantly better image quality than a white wall, especially in less-than-ideal lighting conditions. If the high image quality is a priority, a purpose-built projector screen is worth the investment.
That said, for very casual use, projecting onto a white wall can be a simple and budget-friendly solution if you have a suitable wall space and lighting environment. As long as you keep in mind the potential downsides compared to a proper projector screen, a white wall may be sufficient for your needs.
Useful Video: Projector Screen vs Wall
Conclusion Paragraph
Wall or Projector Screen? Both wall and projector screen display options have their pros and cons. For casual viewing at home, a projector screen is more convenient and can produce a larger image size. However, for professional presentations or permanent installations, a wall display may be preferable due to image consistency and lower ongoing costs. Ultimately, the choice comes down to individual needs and preferences as well as room requirements and budget.
References
- https://www.projectorpoint.co.uk/news/screen-vs-wall
- http://www.hdtvsolutions.com/big_picture_projectors.htm
- https://thehometheaterdiy.com/projector-without-a-screen/
- https://www.carlofet.com/blog/how-to-build-a-projector-screen-at-home